



Getting Started
2 tutorials
Essential tutorials for new users to get up and running with Ganttify.
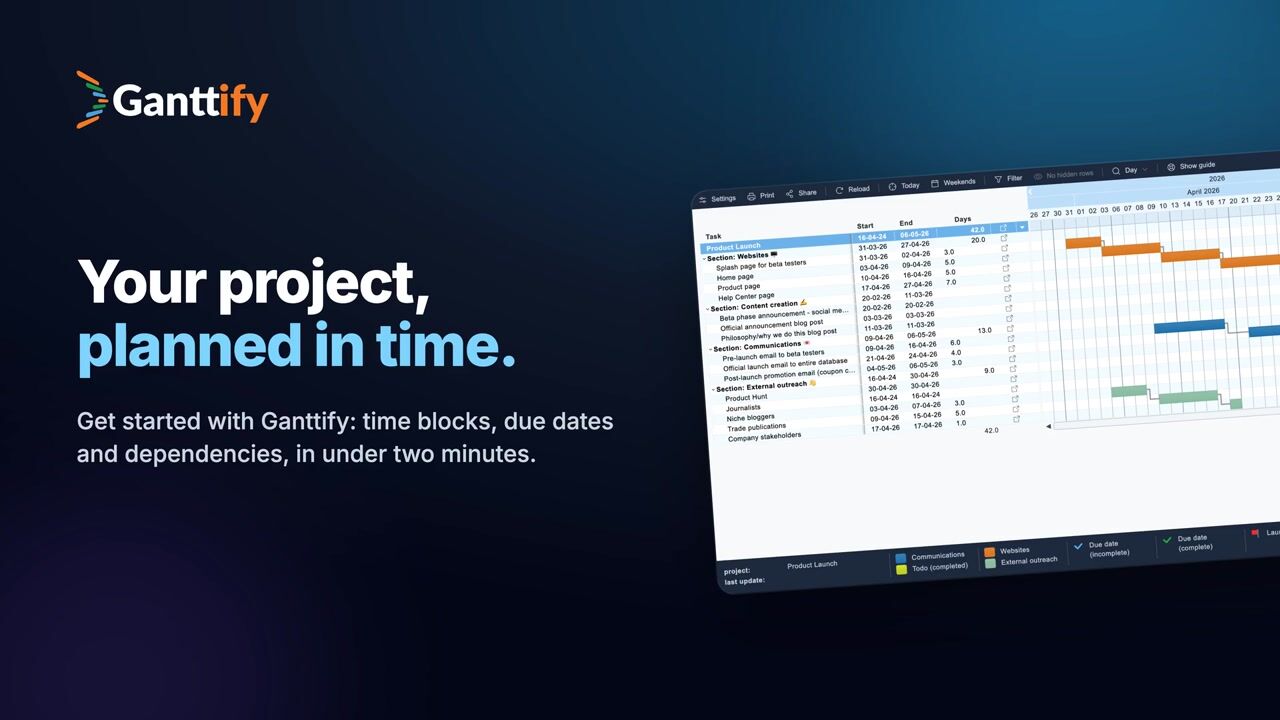
Create your first Gantt chart
Learn how to create your first Gantt chart in Ganttify: turn tasks into time blocks, set start and end dates, and add dependencies in under two minutes. Tasks with only a due date show as a checkmark, and tasks without dates get an empty row. Right-click an empty row and choose “Add time block”, then drag the block to move it or drag its edges to change the start and end dates. Right-click a checkmark to convert its due date into a time block, or right-click a block to turn it back into a due date. Link tasks with “Add dependency” so that when one task runs late, everything that waits on it moves along. Mark key dates like launch day with an icon, color the blocks that belong together, and name each color in the legend so everyone reading your chart knows what it means.
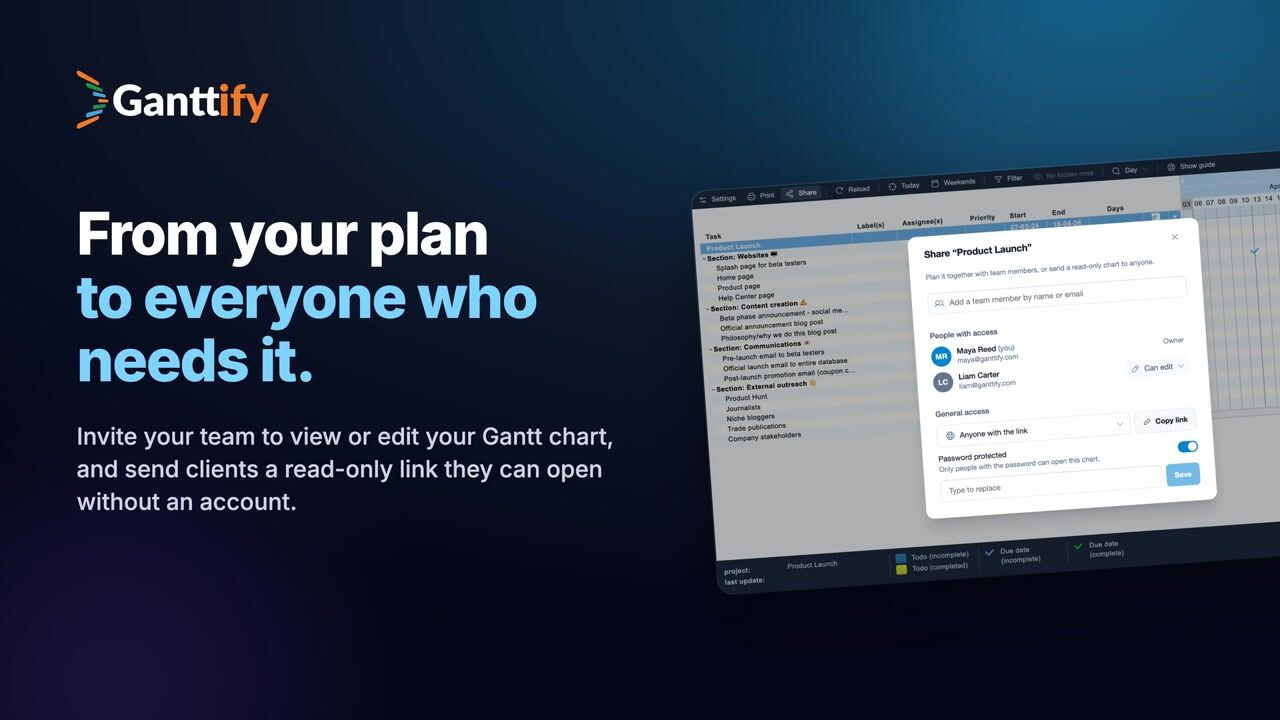
Share your Gantt chart with clients and your team
Share a read-only Gantt chart with clients and stakeholders who don’t use Ganttify. They open a link and see your live plan without an account. In the Share dialog, choose “Anyone with the link” and copy the link into an email. Your client opens it and sees the Gantt chart right in their browser, without signing up or logging in. The link always shows your live chart, so when the plan changes, your client sees the update and you don’t have to share anything again. For a confidential plan, turn on password protection, type a password and save. Give your client the password separately, for example by text message, so the link alone doesn’t open the chart. To share your Gantt chart with your team, click Share and type a team member’s name. Teammates join as Read-only and can follow the plan. Anyone who has access to your projects can be switched to Can edit to plan with you.